
Happy Friday everyone! I'm back today with my latest project for Jaded Blossom. I'm
having a blast with the last release so I've created another scene
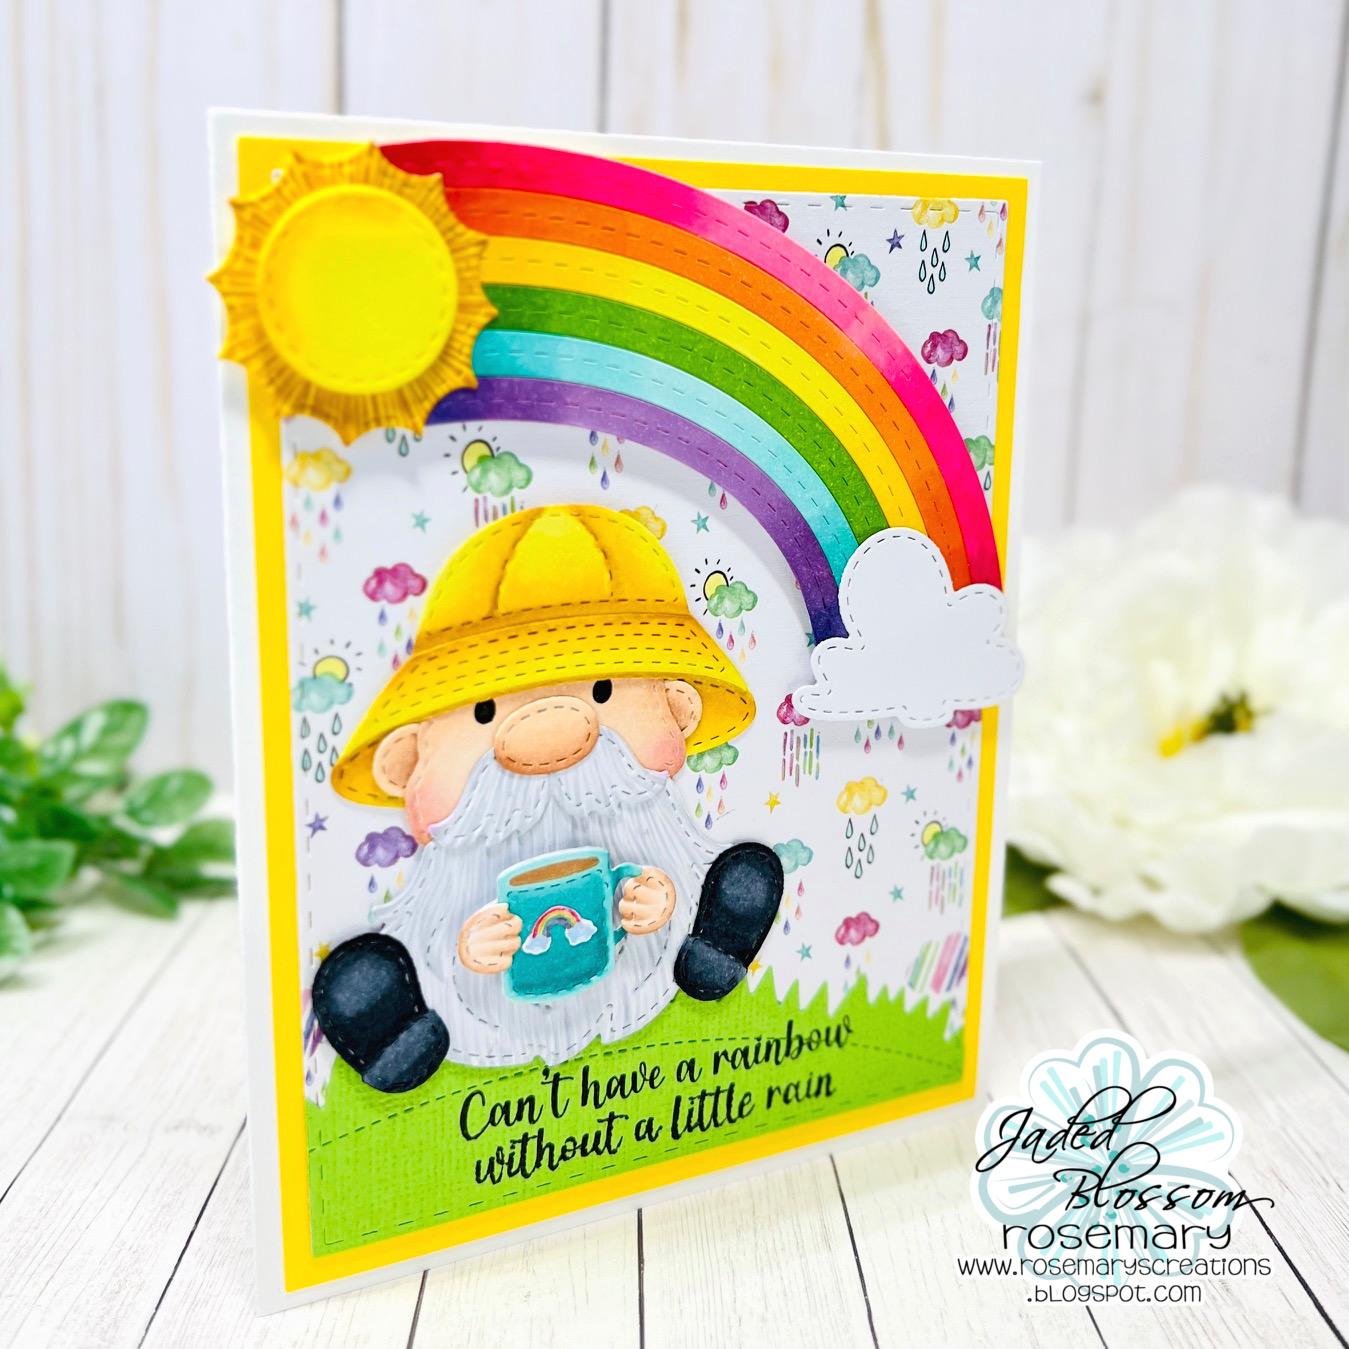
card. My gnome is outside enjoying a cup of coffee, the warm sun, and
beautiful rainbow!
I've been asked a lot in the Jaded Blossom Facebook Group how I create the face on the gnome so keep scrolling through this post for a short tutorial. :)

To create this card, I used the Gnome Dies with the Weather Add Ons (rain hat, sun, and cloud). The rainbow is from the Rainbow Dies. The grassy knoll was cut out using the grass border die from Mushroom Dies. I raised the sun, rainbow, and cloud on foam tape for extra dimension.
Now for the long awaited Gnome Face Tutorial. You're gonna be surprised at how easy it is. :)
Step
1: Cut your gnome body from white paper. Since I color with Copic
Markers, I cut the gnome from Xpress It Blending Card. Now, all you do
is color in the bottom portion of the "hat" in skin tone colors to
create the face. I used E000, E00, E01, E11, and E13. You can use any
skin tone coloring medium you have....colored pencils, markers, or
crayons! If you don't want to mess with colorong, then just cut the
gnome shape from cream or tan cardstock...easy peasy!
**NOTE: If you want him to have rosy cheeks you can use a cotton swab with pink chalk and add it to the lower sides of his face. If you want to add cheeks closer to his nose, then do this step now before you glue down his mustache.
**NOTE: If you want him to have rosy cheeks you can use a cotton swab with pink chalk and add it to the lower sides of his face. If you want to add cheeks closer to his nose, then do this step now before you glue down his mustache.

Step 2: I cut the rest of the pieces I was going to use from Copic Xpress It Blending Card and once again used my Copic Markers to color in the pieces.
Do you see the hands by the nose piece? Those are going to be his ears!

Step 3: Adhere his beard, mustache, and nose using glue. Next grab a black pen because we are going to draw in his eyes.

Step 4: I just free-hand the eyes using the Copic Multiliner Pen and color little oval shapes. If you have stamps, you could also use those.

Step 5: Next, you are going to add the extra set of hands to the sides of his head for ears. I usually lay my hat over the top of his head to gauge where his ears should go.

Step 6: The last step is to add his hat and whatever he is holding (coffee mug in this case). I did something a little different with the rain hat this time around. I used my cutting knife and cut a slit along the perforated line so I could slide his head under the rain hat. I liked it better because I was able to line up the hat right above his eyes and his ears.

I hope this inspires you to try adding a face to your gnomes! Also, remember we have a current monthly challenge going on right now. The theme is POLKA DOTS, and you have until May 6th to play along! Be sure to check out the Jaded Blossom Store for all your stamps and gift giving supplies. They have various Cutting Dies to make party favors along with Favor Bags and Boxes.
Have a great weekend!
Rosie


