Showing posts with label Lawn Fawn. Show all posts

Tuesday, March 30, 2021

Dies R Us: OCEAN SHADOW BOX CARD

 Happy Tuesday everyone! It's Rosie here today with my last DT post for Dies R Us. I had an amazing time with these wonderful ladies on the team, and want to wish the new ladies lots of fun and success! Today, I'm showing how I created this underwater ocean Shadow Box Card using Lawn Fawn products.


 Let's Get Started!

Step 1: I cut two pieces of the shadow box frame from the Lawn Fawn Shadow Box Card Dies....one piece forms the front and one forms the back. I used the scallop frame from the Shadow Box Card Ocean Add On Dies to create the opening on the front panel. Then, I measured and cut pieces of decorative paper to glue to the inside back panel to create the ocean backdrop. Originally I was only going to put paper on the very back panel, but then decided to also add paper to the sides.


Step 2: After you glue the decorative paper to the inside, assemble the box. I use Scor-tape because then I don't have to wait for glue to dry.


Step 3: Now comes the fun part....decorating the inside! I cut two waves using the Ocean Add On Dies. I glued one close to the scallop opening. The other one was glued more in the middle of the box. I stamped the scuba diver, fishes, angler fish, and lobster from the Lawn Fawn You Are Sublime Stamps, colored them with Copics, and added them to the inside. I made the scuba diver a girl by adding some lashes. To create depth I add some of the elements on plastic strips and adhere to the back ocean wave panels with foam tape. 


Step 4: I added the sentiment strip to the back of the shadow box using plastic strips also.


Here it is all assembled!


These are the products I used:


Don't forget to come join in the fun at the 
Dies R Us Challenge Blog.  There's a new challenge theme offered on the 1st and 15th of each month, and one lucky randomly drawn winner will receive a gift voucher prize to the Dies R Us Store.  For your convenience, all the important Dies R Us links are provided below.

Thank you for stopping by! Have a great week!

Tuesday, February 23, 2021

Dies R Us: It's Cold Outside

Happy Tuesday everyone! How is everyone surviving the polar vortex that hit our country? I live in Oklahoma and it was soooooooo cold here! We are not equipped to handle multiple days of snowy weather and below zero temperatures. I'm so thankful we didn't lose our electricity! When I saw this Memory Box die called Stitched Circle Snowman, I was inspired to create a winter shaker card. 

 
Let's get started!

 Step 1: I cut my white cardstock to 3.75 x 5. Then I laid the die on top of my paper and cut it out. I love this die because it adds a stitched circle border and just cuts out the center area leaving the entire card intact.

 
Step 2: I cut a clear sheet of acetate just a tad bit smaller than my card panel (3.5 x 4.75) and glued it on the backside of the card panel.
 
 
Step 3: Now, you will want to pick out your sentiment and stamp it before adding your foam tape to the back. I forgot to add the sentiment so my pictures are out of order. If you add your foam tape before you stamp your sentiment, then just be sure to reinforce the area you are going to stamp on with extra foam tape so it provides a firm surface to stamp on. I used the sentiment from Lawn Fawn's Winter Alpaca because it is definitely cold outside!
 

Step 4: Next, add your foam tape. You will want to add the foam tape close to the stitched circle border so your shaker elements stay within the circle area. Otherwise, they will fall below the snowdrift and you won't be able to see them.
 
 
Step 5: Next, cut a piece of decorative paper just a little smaller than your card panel so you can enclose your shaker pieces after you add them. 
 
 
Step 6: I framed the card with more decorative paper cut to 4 x 5.25. Then I adhered the entire thing to my card base which measure 4.25 x 5.5.
 
 
These are the products I used:

Don't forget to come join in the fun at the 
Dies R Us Challenge Blog.  There's a new challenge theme offered on the 1st and 15th of each month, and one lucky randomly drawn winner will receive a gift voucher prize to the Dies R Us Store.  For your convenience, all the important Dies R Us links are provided below.

Thank you for stopping by! Have a great week!

Tuesday, January 26, 2021

Dies R Us: Lawn Fawn Lift The Flap Tree Backdrop

 Happy Tuesday everyone! It's Rosie here sharing a card I made using Lawn Fawn Dies and Stamps. I love the cuteness factor and versatility of their stamps and dies. They are usually my go-to company when I want to create something adorable. Today, I'm featuring the Lift The Flap Tree Backdrop Die, along with Fairy Friends and Cheery Christmas Stamps.


 Let's get started!

 Step 1: I cut the Lift The Flap Tree die from brown cardstock and the Meadow Backdrop from green cardstock. I cut a piece of light blue cardstock for the sky to go behind the brown tree die-cut once I start assembly.


Step 2: I stamped the characters from Fairy Friends and Cheery Christmas on Xpress It Blending Card and colored them with Copic Markers.
 

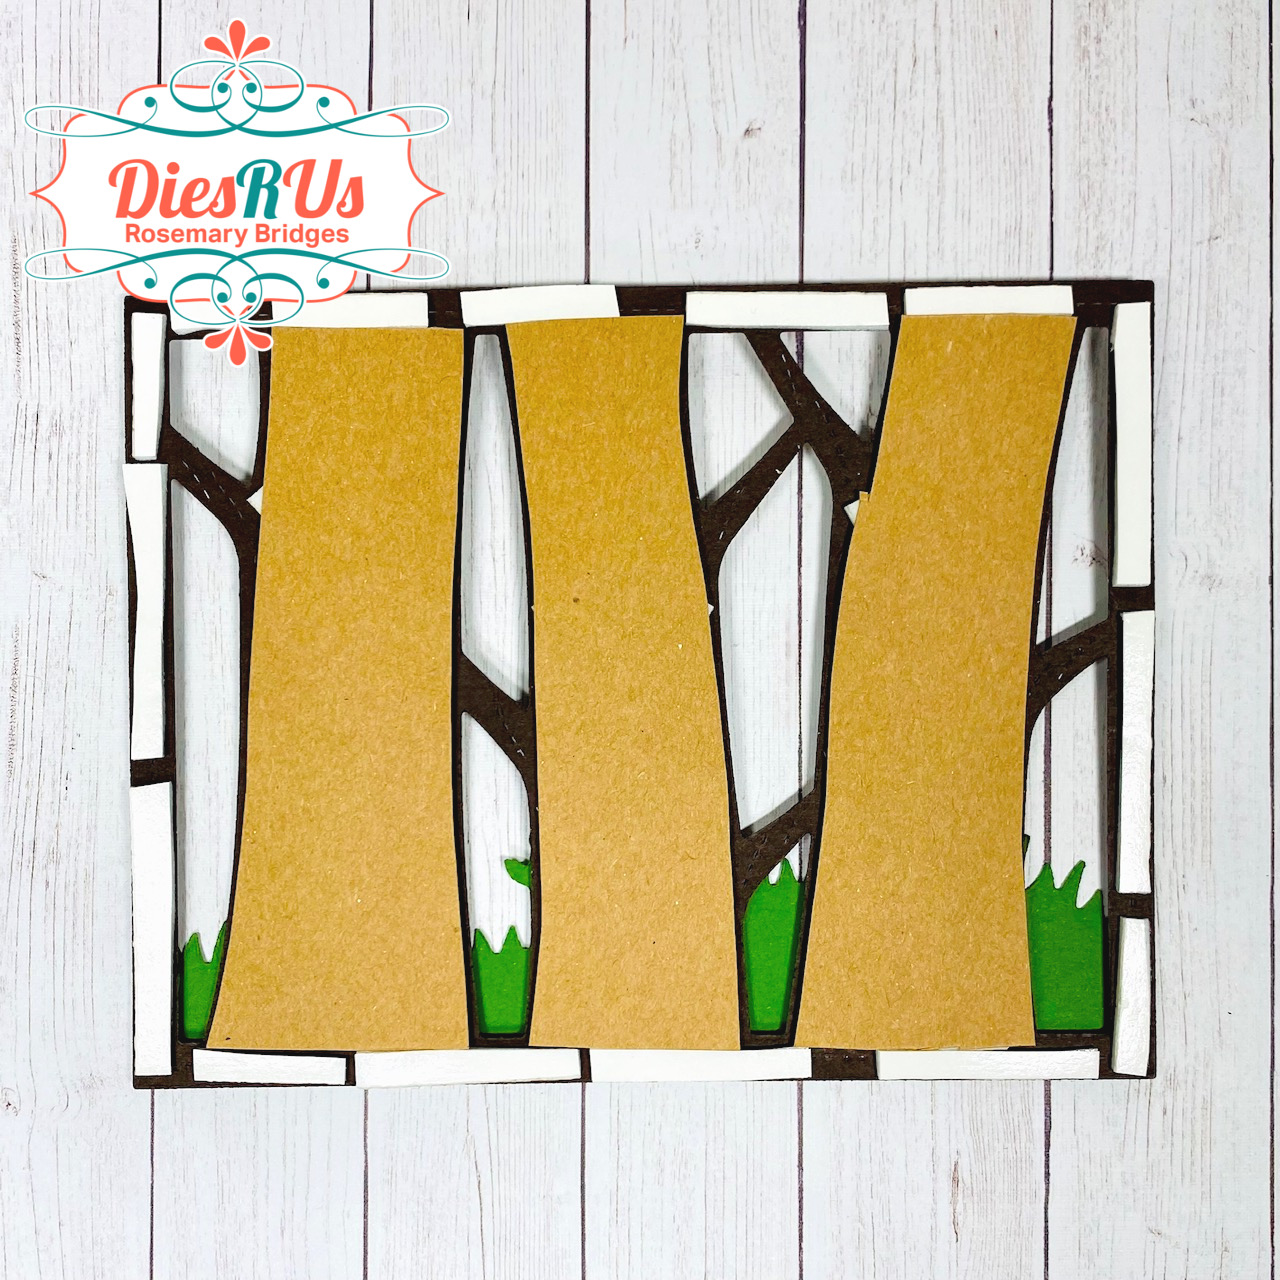
Step 3: I traced around the dark brown trees onto light brown cardstock and then trimmed the tree shapes to go behind the dark brown die-cut.


Step 4: As you can see in this photo, I adhered the light brown trees to the die-cut using foam tape.


This is what it looks like from the front.


Step 5: I cut a Meadow Backdrop from green cardstock. I then trimmed off the bottom section to use on my card. The sentiment is from the Fairy Friends Stamp Set.


Step 6: I adhered the green grass panel to the top of the tree panel with additional foam tape.


This is what it looks like once adhered.


Step 7: Next I added foam tape around the edge of the Lift The Flap Tree die-cut and attached the blue sky cardstock.


Step 8: Now comes the fun part...adhering all the characters and flowers to the card front to create a magical forest scene!


Here you can see the cute characters that are hiding inside the tree.


Don't forget to come join in the fun at the 
Dies R Us Challenge Blog.  There's a new challenge theme offered on the 1st and 15th of each month, and one lucky randomly drawn winner will receive a gift voucher prize to the Dies R Us Store.  For your convenience, all the important Dies R Us links are provided below.

Thank you for stopping by! Have a great week!